You need to be logged in to see the rest of this content. Catalina380-IA members, please login.
To join please fill out a membership application (Association->Membership Application) and send a check to the address on the form.

You need to be logged in to see the rest of this content. Catalina380-IA members, please login.
To join please fill out a membership application (Association->Membership Application) and send a check to the address on the form.
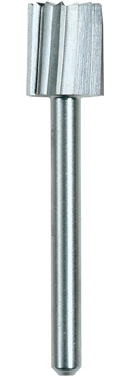
I had a leak in my front hatch last year. Mine was leaking under the frame and not from the gasket. Luckily the core was dry since it was dripping down between the frame and inside trim piece. The PO has removed the frame and put some silicone between the trim piece and coring. An extra 1hr of work he could of sealed the core for good. So I recommend coring out all around the hatch and not just the screw holes with epoxy or resin. I found this dremel cutting tool very helpful. Run the shaft along the fiberglass using it as kind jig. It will cut out about an 1/8″ just enough to seal the core.
Taping a sheet of plastic on the inside will catch the coring and drips from the epoxy. Also it would be a good time to paint the inside trim piece, I found
You need to be logged in to see the rest of this content. Catalina380-IA members, please login.
To join please fill out a membership application (Association->Membership Application) and send a check to the address on the form.
We had troubling leaks with our forward hatch leaked as well. Gaskets or bedding are generally the source. After addressing the gasket issues, it still leaked, with water leaking out of the inner hatch trim strip. I repeatedly tried Capt Tolley’s Creaping Crack Cure, as was suggested, but it didn’t work.. Finally I broke down and pulled the hatch. I found that the screws Catalina used to install the hatch were too short, which caused quite a bit of flexing along the hinge line. The flexing was great enough to cause the fiberglass skin to de-laminate from the deck core. Catalina also didn’t seal the hatch mounting holes with epoxy to isolate the deck core from leaks, luckily the core was in good shape. I ended up drilling holes, injecting epoxy, and c-clamping the de-lamination to repair it. Finally re-bedded the hatch using longer 1 /1/2″ screws and Sikaflex 291
You need to be logged in to see the rest of this content. Catalina380-IA members, please login.
To join please fill out a membership application (Association->Membership Application) and send a check to the address on the form.
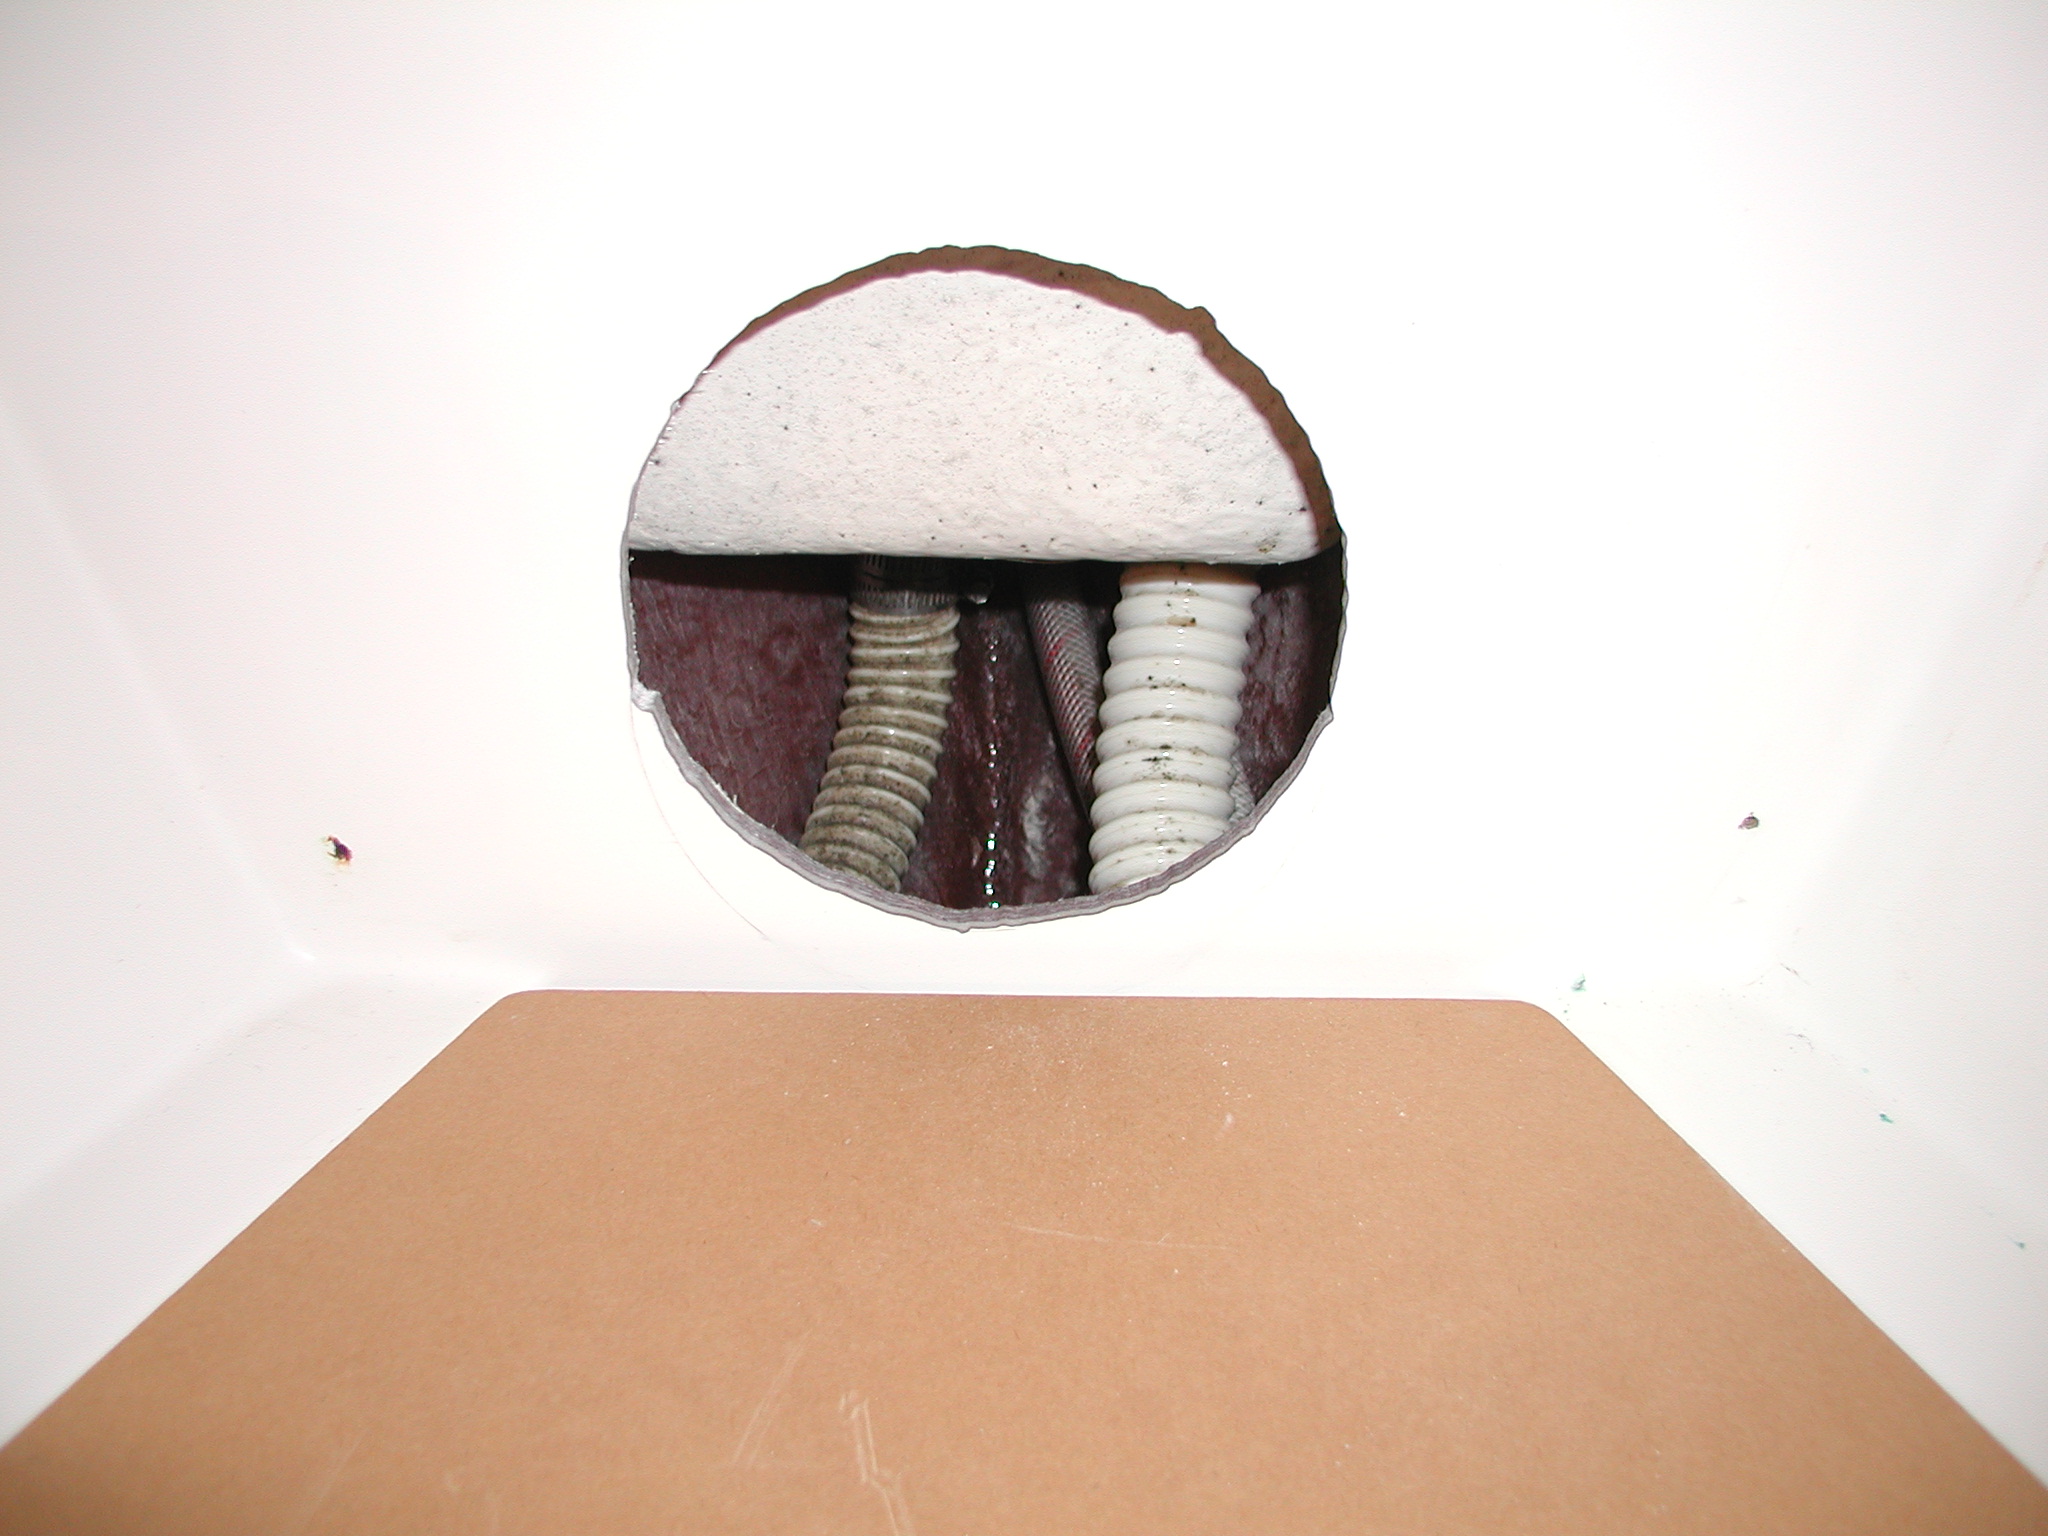
The attached picture shows one way to access the anchor well hose. I didn’t actually replace the hose because when I got in there I could tell that it wasn’t the culprit. I had the Admiral run the hose in the well while I felt for leaks at both ends of the hose. I don’t think the hose is reachable without an access hole. I could have replaced the hose through this access hole. The hole looks kind of raw in this picture but I finished it by putting a six inch deck plate in it and covering it with the teak plywood panel.
Paul McManus
Sea Sea Rider C380 #185
You need to be logged in to see the rest of this content. Catalina380-IA members, please login.
To join please fill out a membership application (Association->Membership Application) and send a check to the address on the form.
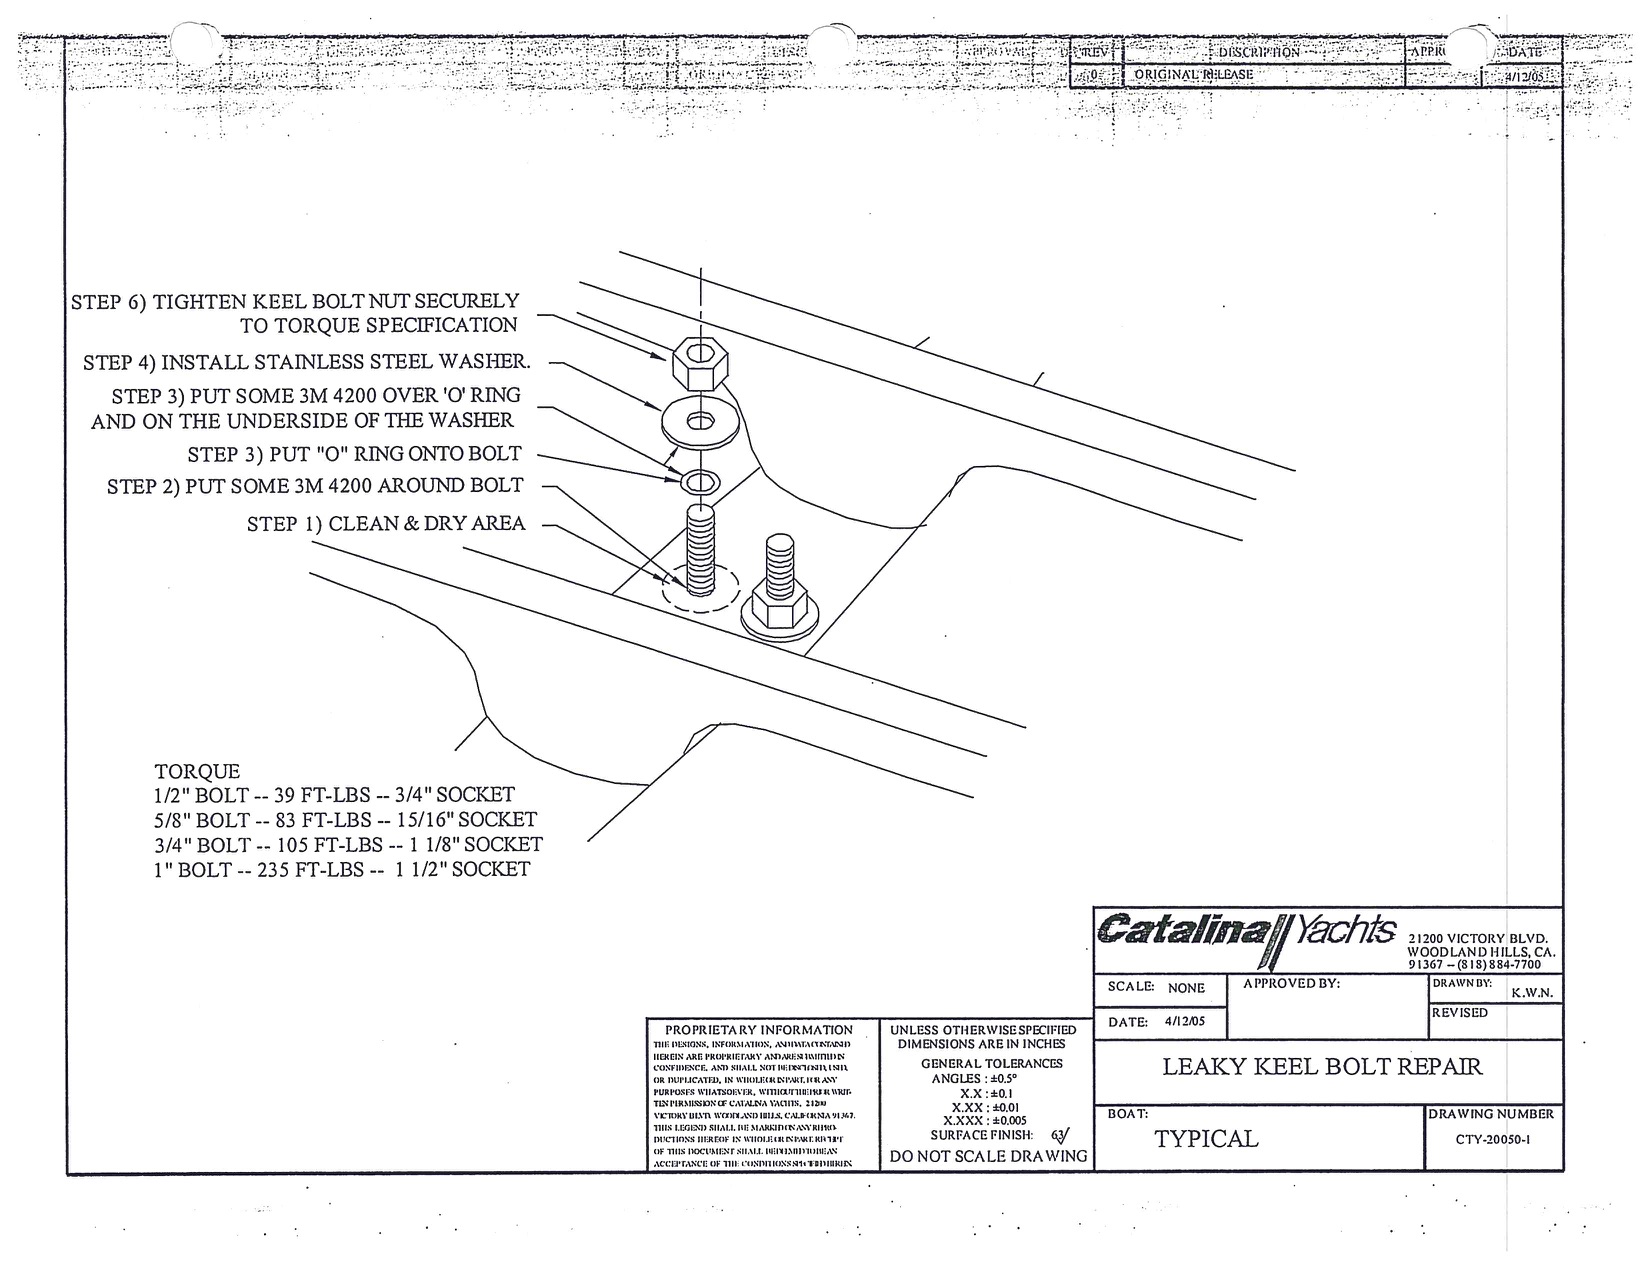
The consensus is that the bolts should be tightened while boat is on the hard but several have done this in the water and successfully stopped leaks.
Can the keel, bolts be tightened with my 2005 Catalina in the slip in the water. I think I might have a slow leak going on. If I they r below torque Specs could that help. What would be the best procedure?
Thanks
Edward Wolf
San Pedro,
California.
Hi Ed,
From everything I’ve read, it should be done out of the water when the weight of the boat is resting on the keel. I’ve always done it just before launch, when hopefully everything is dried out.
The recommended torque is 235-250 ft-lbs.
If you were to try it in the water, the weight of the keel would be hanging on the bolts and the torque required to lift it up would be greater
You need to be logged in to see the rest of this content. Catalina380-IA members, please login.
To join please fill out a membership application (Association->Membership Application) and send a check to the address on the form.
Just to share our experience on these;
Shortly after purchasing our 380, I found the galley “thruhull” to be leaking near the base. A quick haul, yard replacement, and $1K later, I realized this might not have been so serious. The PO had serviced the valve and stripped some threads on some of the stainless screws that hold the body together. The thru hull was not leaking, the valve body was. We could have used the plug that comes in the handle to close off the outside opening (from the water), screwed off the body, and screwed on a new one. Lessons – ascertain what is leaking; in my view its very unlikely that its the thru hull. If you take apart a valve to service, be very careful when putting back together.
This past winter I replaced the engine cooling water thru hull and valve – it had been
You need to be logged in to see the rest of this content. Catalina380-IA members, please login.
To join please fill out a membership application (Association->Membership Application) and send a check to the address on the form.
For those (like me) who didn’t know the term “dead light”, those are the pure plexiglass windows on the sides of our cabins, i.e. not the “port lights” which are the oval ports with aluminum frames…
I asked for advice on rebedding these to eliminate a persistent leak. The following is the information provided:
Tom,
I purchased the 2 port side deadlights from Catalina. They suggested Dow Corning 795 in Black. Their price was over $20 per tube, I bought it at a supply house in Catonsville for under $15. I had an automotive glasser do mine, I wouldn’t recommend them. When you do them you can get some wood slats to wedge between the sheet tracks and the hand rail and put sponges under the slats to hold the deadlight tightly while curing. Blue painters tape also.
Good luck,
Skip
C.S.Wilkins
Assuming that you referring to one of the
You need to be logged in to see the rest of this content. Catalina380-IA members, please login.
To join please fill out a membership application (Association->Membership Application) and send a check to the address on the form.
Last weekend we used the shower for the first time this year. A significant leak quickly developed. Water entered the main salon at the seam between the teak panelling and the sole just to the right of the nav station. The shower pan looks fine. The leak could be coming from the seam between the shower wall and the shower pan or possibly something underneath associated with the shower drain. Does anyone have experience with this kind of leak?
Rick Stewart
s/v Moon Eye
C380, #51
I re-caulked all the shower seams year before last. The trick is to make sure you get all the old silicone off because silicone sealant doesn’t adhere to itself. I removed all the trim, used scribes, sandpaper, and silicone remover, making sure to remove it completely. Thoroughly wiped surfaces with MEK, then re-applied the highest quality silicone sealant I could find, pushing it deeply
You need to be logged in to see the rest of this content. Catalina380-IA members, please login.
To join please fill out a membership application (Association->Membership Application) and send a check to the address on the form.
(In response to a request asking for advice on a leaking thru-hull…)
Jack,
I had a leaking seacock on my C380 Hull #5 about 4 years ago. It is important to figure out what part of the seacock is leaking. My leak was between the valve bottom flange and the hull. When I launched in the spring the wood had dried out over the winter and shrunk a little and thus a leak. As the wood absorbed some of the water it would expand and in a few weeks it would stop for the summer. The following fall on the hard I removed the seacock and re-bedded it. It was an interesting project but one I would not attempt in the water. On the other hand, if the leak is something to do with the valve above the base flange it is doable in the water. If it were me,
You need to be logged in to see the rest of this content. Catalina380-IA members, please login.
To join please fill out a membership application (Association->Membership Application) and send a check to the address on the form.
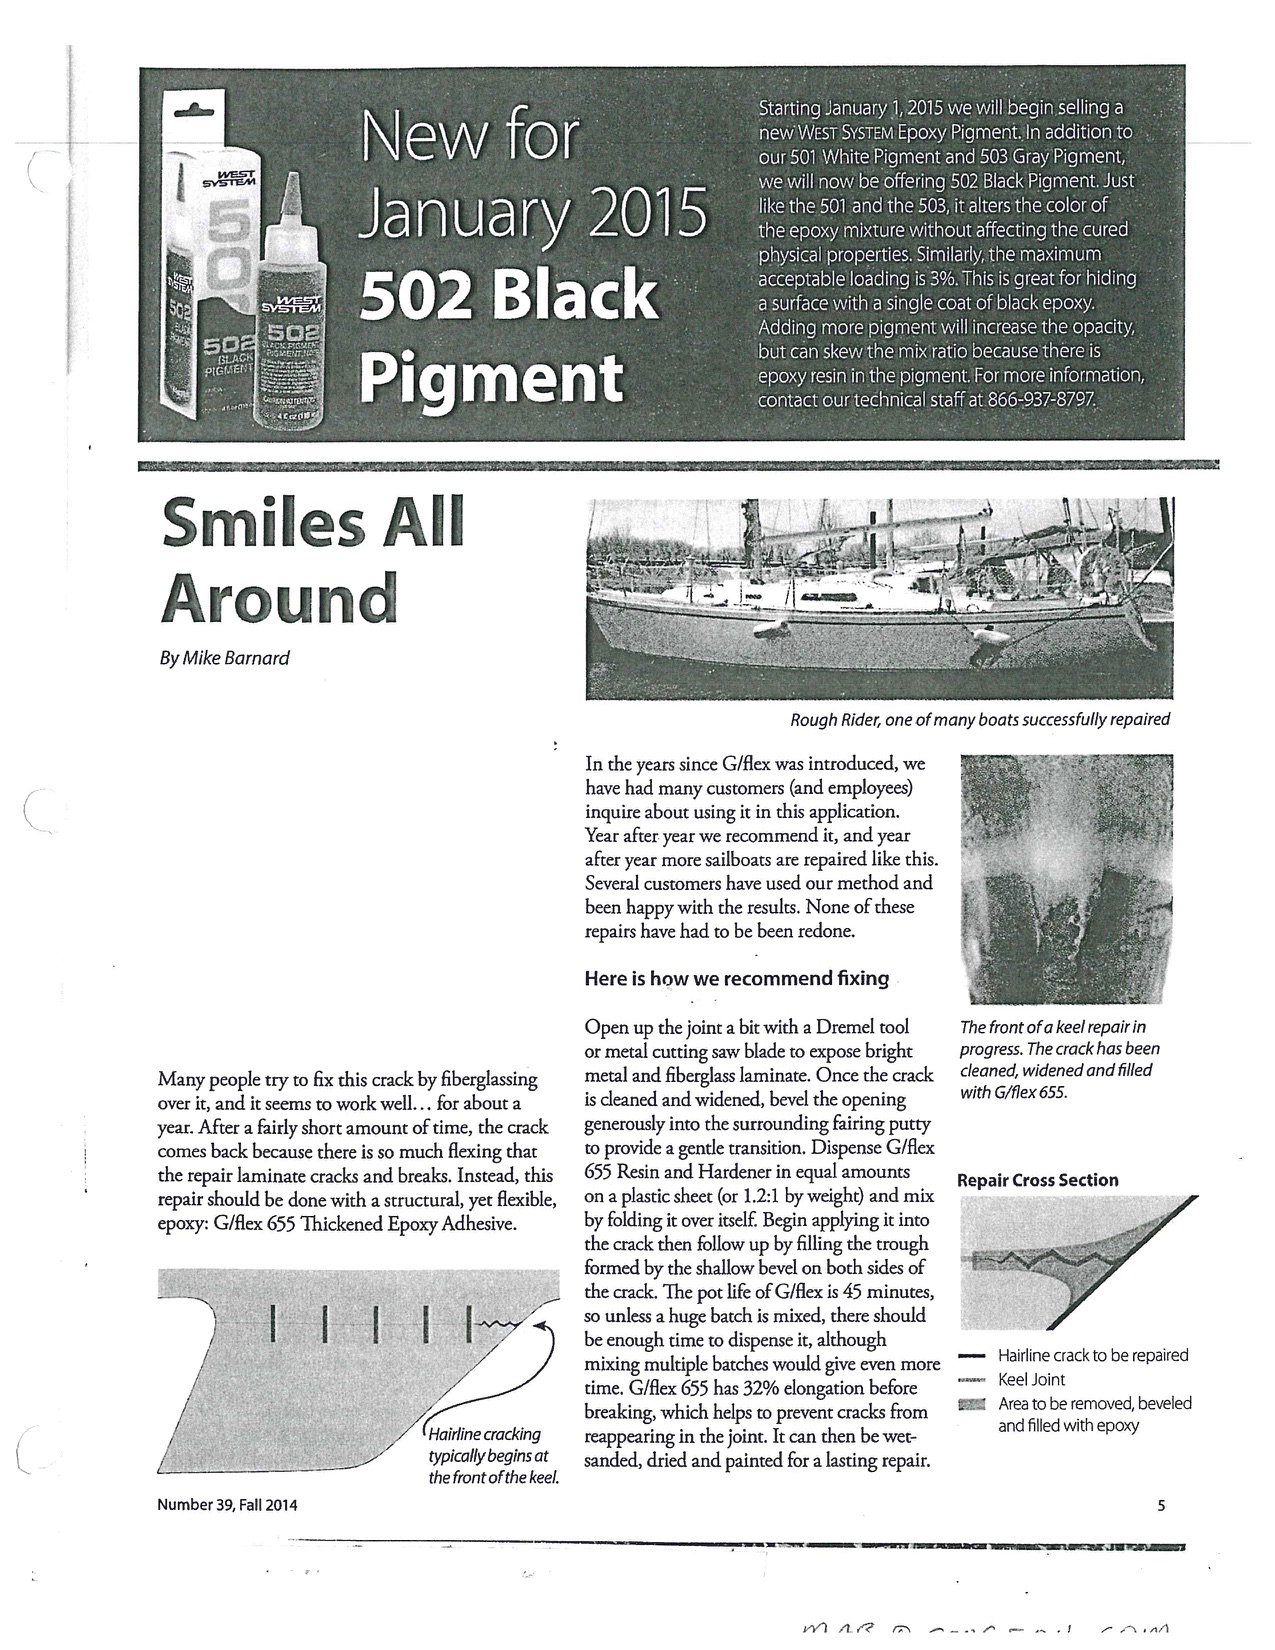
Checking the torque on the keel bolts presents interesting challenges. First is the problem of creating a socket that will extend the length of the portion of the keel bolt that is showing in order to reach the 1″ keel bolt itself. Secondly, you need a torque wrench capabile of measuring the required torque. You also need a cheater bar or torque multiplier to exert enough force to achieve the number. I have not found a force multiplier, however, that will fit in the tight space available.
As to how much torque to apply:
“From everything I could research I was aiming for 235-250 ft lbs of torque
Paul”
A few of our captains have created their own wrenches:
On the keel bolt question, if the boat is on the hard it maybe more desirable but I had good luck with mine while in the water. On my C380 hull
You need to be logged in to see the rest of this content. Catalina380-IA members, please login.
To join please fill out a membership application (Association->Membership Application) and send a check to the address on the form.